Loom, Not Labyrinth: Wiring a Chop for Wet British Mornings

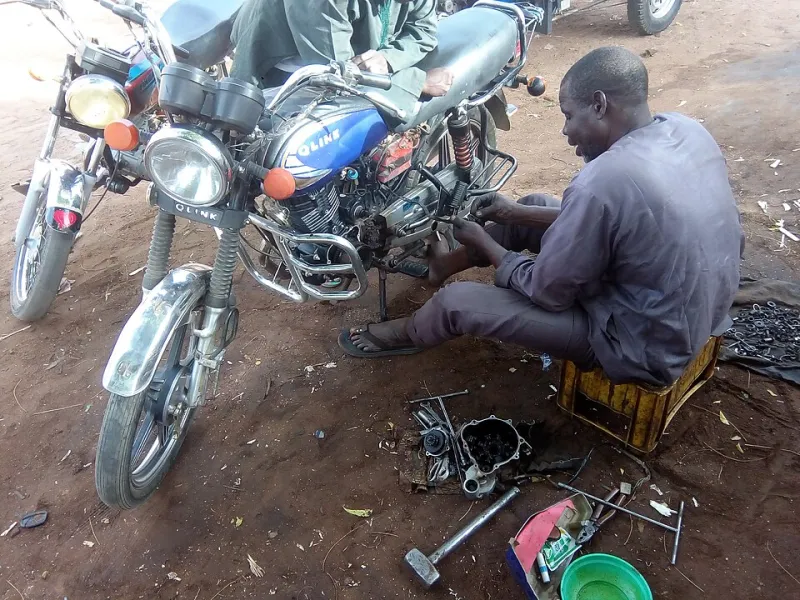
Photo: custom motorcycle wiring loom workshop chopper electrical repair, via theboxlane.com
Most chopper wiring fails because the builder kept adding circuits, not because they left something out. A horn relay here, a USB socket there, an accessory live for a phone charger that never gets used, and suddenly the loom under the tank looks like a bowl of spaghetti that fell behind the fridge. The bike still starts, so it feels fine — until a damp Tuesday morning on a B-road when the headlight dims, the neutral light lies and you are crouched by the kerb with a multimeter and a growing sense of regret.
A rewire does not need to be a winter-long engineering project. It needs to be a maintenance contract you write with yourself: simple enough to diagnose, sturdy enough for British weather, and accessible enough that you do not have to drop the engine to check a earth. Call it the minimum viable loom. It is not glamorous. It is the reason you get home.
Start With the Circuits You Actually Use
Before you cut a single cable, write down what the bike genuinely needs: ignition, charging, main lighting, brake light, indicators if they are fitted and legal, horn, and a dash light or two. That is the core. Everything else is a guest, and guests should have their own fuse and their own plug so they can be evicted without taking the household with them.
This is where the “while I’m in there” trap gets you. You are already under the tank, so why not wire in a heated vest lead, a battery tender tail, a second accessory socket and a hidden alarm? Because every extra circuit is another connection to corrode, another fuse to chase and another wire that can rub through behind the oil tank. If you need those things later, build them later as a separate sub-loom. Do not bake them into the bike’s spine.
Keep the main loom linear: battery to main fuse, main fuse to ignition switch, ignition switch to the fuse box, fuse box to the loads. A chopper with a tiny battery and a kickstart does not need a CAN bus. It needs copper, decent terminals and a plan.
Fuse the Feed, Not the Feeling
One main fuse close to the battery is your first line of defence. After that, branch fuses for lights, horn and accessories. Size them for the cable and the load, not for the biggest fuse that happens to be in the shed drawer. A 30-amp fuse protecting a 5-amp indicator circuit is not protection; it is a wire-heating experiment.
Use a proper fuse holder that seals, not a glass fuse rattling in an open clip under the seat. Blade fuses are easy to find at any motor factor and easy to diagnose at the roadside. Label the box. “Lights”, “Horn”, “Ignition” written in permanent marker saves you ten minutes in the rain and a lot of swearing.
Earths Are Half the Job
Most electrical gremlins on a custom chop are earth faults wearing a disguise. Powdercoat, paint, chrome and anodising all conspire against you. A ring terminal bolted to a freshly painted frame is not an earth; it is a decoration.
Run dedicated earth returns for the headlight, tail light and ignition rather than relying on the frame to carry everything. Bring them to a clean, unpainted earth point — ideally a dedicated stud with a star washer — and run a heavy cable back to the battery negative. If the frame is the only return path, every joint and bearing in the bike becomes part of the circuit. That is not a design feature.
Route It Like Rain Is Guaranteed
Because it is. The loom should run away from the steering head’s pinch points, above the lowest point of the oil tank, and clear of exhaust heat and Chain lube fling. Leave a service loop at the steering head so the cable does not pull tight on full lock. Secure it with proper P-clips or ties that do not cut into the insulation, and leave enough slack at the rear mudguard that the suspension can move without tugging the wires.
Avoid routing cables through holes in the frame unless those holes have a rubber grommet and you have checked the edge with your finger. A sharp frame edge and a vibrating loom is a slow-motion short circuit. Keep connectors out of the direct path of front-wheel spray. If they must live low, use sealed connectors and a dab of dielectric grease. Choc-block and Scotchlocks have their place — mainly in the bin, or in someone else’s emergency.
Build for the Roadside, Not the Show Stand
A good loom is one you can diagnose with a test light and a spare fuse at the side of the A-road. That means accessible connectors, visible fuses and a wiring diagram tucked in the toolbox or laminated under the seat. It does not mean every wire must be labelled in six colours, but a simple key — red for permanent live, black for earth, blue for lighting — will save you when your memory fails.
Crimp properly with a decent tool, give every joint a tug test, and heat-shrink anything that could see weather. Solder has its fans, but a bad solder joint in a vibrating loom is worse than a good crimp. Use adhesive-lined heat-shrink at the ends of the loom and cable boots where the wires enter connectors.
Finally, test in stages. Connect the battery with the main fuse out, then fit the fuse and check one circuit at a time. Watch for smoke, smell for hot insulation and listen for relays clicking when they should not. A slow, boring test beats a fast, exciting fire.
A chopper’s wiring should be like the rest of the build: honest, repairable and built to be used. Keep it simple, fuse it properly, earth it like you mean it and route it for the weather this country actually delivers. The lights will stay on, and the only thing smoking will be the exhaust.